Last Updated: November 11, 2026
Quick Summary
Kitchen cabinet refinishing is the process of stripping, sanding and re-coating existing cabinet doors and frames so they look new without being rebuilt. It is often the best starting point when the cabinet boxes are solid, and it typically takes about 1 to 2 weeks.
- Refinishing suits solid, well-built cabinets with a dated finish, not warped or water-damaged boxes.
- Clean every surface with a kitchen-grade degreaser, since grease blocks paint adhesion.
- Sand lightly and evenly with the grain, then remove all dust with a tack cloth before priming.
- Water-based polyurethane is the easiest DIY topcoat, with low odor and soap-and-water cleanup.
- Avoid heavy cabinet use for several days to a few weeks while the finish cures to full hardness.
Table of Contents
- Kitchen Cabinet Refinishing vs. Refacing vs. Replacement
- Kitchen Cabinet Refinishing Products You Will Need
- The Kitchen Cabinet Refinishing Process Step by Step
- Kitchen Cabinet Refinishing Cost and Timeline
- Kitchen Cabinet Refinishing Before and After: What to Expect
- Booking Your Cabinet Refinishing Project With Johnny Stone Work
- Frequently Asked Questions
Kitchen Cabinet Refinishing vs. Refacing vs. Replacement
Kitchen cabinet refinishing is the process of stripping, sanding and re-coating existing cabinet doors and frames so they look new without being rebuilt. Refinishing is often the most sensible starting point when the cabinet boxes are solid.
Refacing keeps the cabinet boxes but replaces the doors, drawer fronts and veneer. Replacement removes everything and installs new cabinets. Each option changes the look, the budget and the timeline, so it helps to compare them side by side before committing.
| Option | What Changes | Best For | Typical Timeline |
|---|---|---|---|
| Refinishing | Surface finish on existing doors and frames | Solid, well-built cabinets with a dated finish | About 1 to 2 weeks |
| Refacing | New doors, drawer fronts and veneer on existing boxes | Sound boxes with a layout you like | Several weeks, depending on custom orders |
| Replacement | Entire cabinet system | Damaged boxes or a new layout | Several weeks to months |
Refinishing wins on cost and disruption when the wood is sound. Watch out: if the cabinet boxes are warped, water-damaged or made of particleboard that has swollen, no coating will fix the underlying structure, and refacing or replacement becomes the better choice.
Kitchen Cabinet Refinishing Products You Will Need
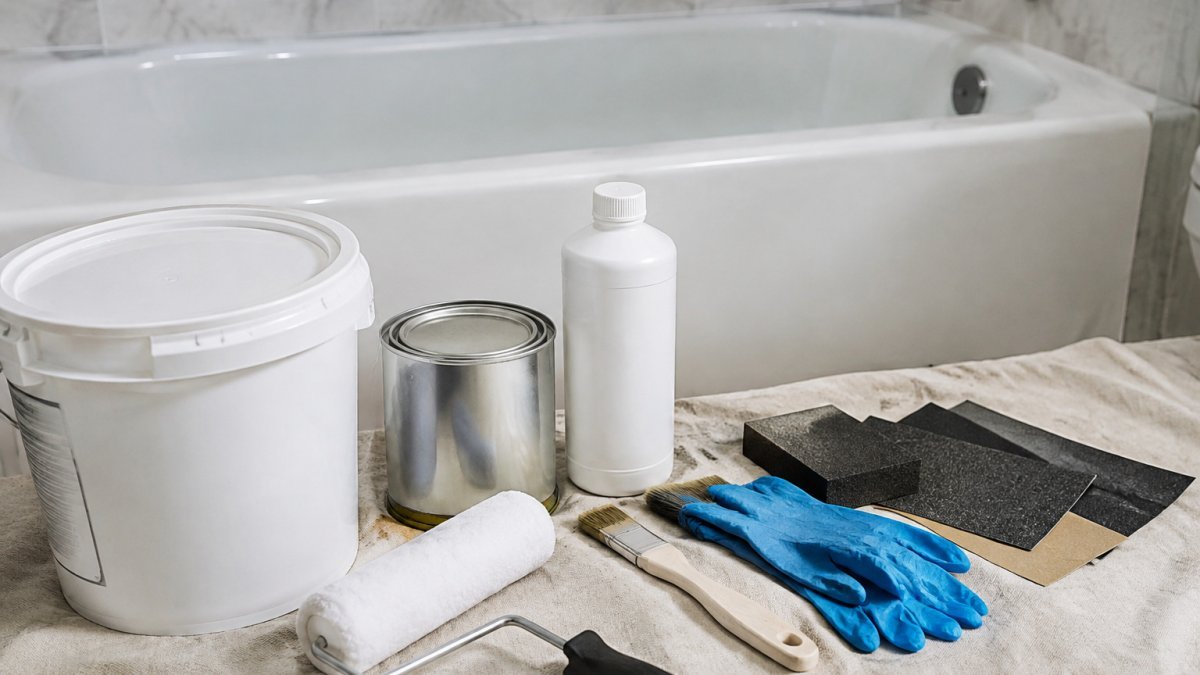
A refinish is only as good as its weakest material, and the two that decide the outcome are the primer and the topcoat. Most projects require a kitchen-grade degreaser, sandpaper, a bonding primer matched to your topcoat, a durable clear or pigmented finish, painter’s tape, drop cloths, and quality brushes or a sprayer.
Topcoat durability is where most guides stay vague. The three common choices behave very differently in a kitchen:
- Water-based polyurethane is the easiest for a DIYer: low odor, fast recoat, soap-and-water cleanup. It resists moisture well but is softer than solvent systems and can show wear on high-touch drawer fronts within a few years.
- Oil-based polyurethane is harder and more water-resistant than water-based, but it ambers over time, a real problem under light paint colors, and takes far longer to cure.
- Conversion varnish and precatalyzed lacquer are the professional standard for sprayed cabinets. They cure hard, resist heat and humidity, and lay flatter than brush-applied finishes, but they require spray equipment, proper ventilation, and careful mixing. Most practitioners find these systems hold up best around sinks and stoves, where moisture and heat are constant.
Material compatibility matters as much as the finish. Different cabinet substrates react differently, and a generic guide will get you into trouble:
-
Oak has open grain that telegraphs through paint unless it is filled; it takes stain beautifully but shows every sanding scratch, so sand with the grain and finish with a finer grit.
-
Maple is dense and closed-grain, which makes it excellent for paint but prone to blotchy stain absorption, a conditioner coat helps even it out.
-
Cherry darkens naturally with light exposure, so a stained cherry cabinet will keep shifting color for months after the job is done.
-
MDF and particleboard accept paint well but swell permanently if water reaches the raw edges; any exposed edge must be sealed, and swollen board cannot be refinished at all.
-
Degreaser suited to kitchen grease
-
Sandpaper in 120, 180, and 220 grit
-
Bonding primer compatible with your topcoat
-
Water-based polyurethane, oil-based polyurethane, or conversion varnish
-
Painter’s tape, drop cloths, and gloves
-
Replacement hardware, if you plan to update pulls or hinges
Choosing Between Painting and Staining
The choice between paint and stain comes down to wood species and the look you want. Paint hides grain and imperfections, which suits oak or cabinets with visible damage. Stain highlights natural grain, which works well on maple, cherry, or walnut, but only if the existing finish can be sanded back far enough to accept stain evenly.
Test both on a hidden spot, such as the inside of a door, before committing to the full kitchen.
The Kitchen Cabinet Refinishing Process Step by Step
Refinishing follows a predictable sequence: clean, prepare the surface, prime, finish and cure. Skipping any step usually shows up as peeling or uneven color within months.
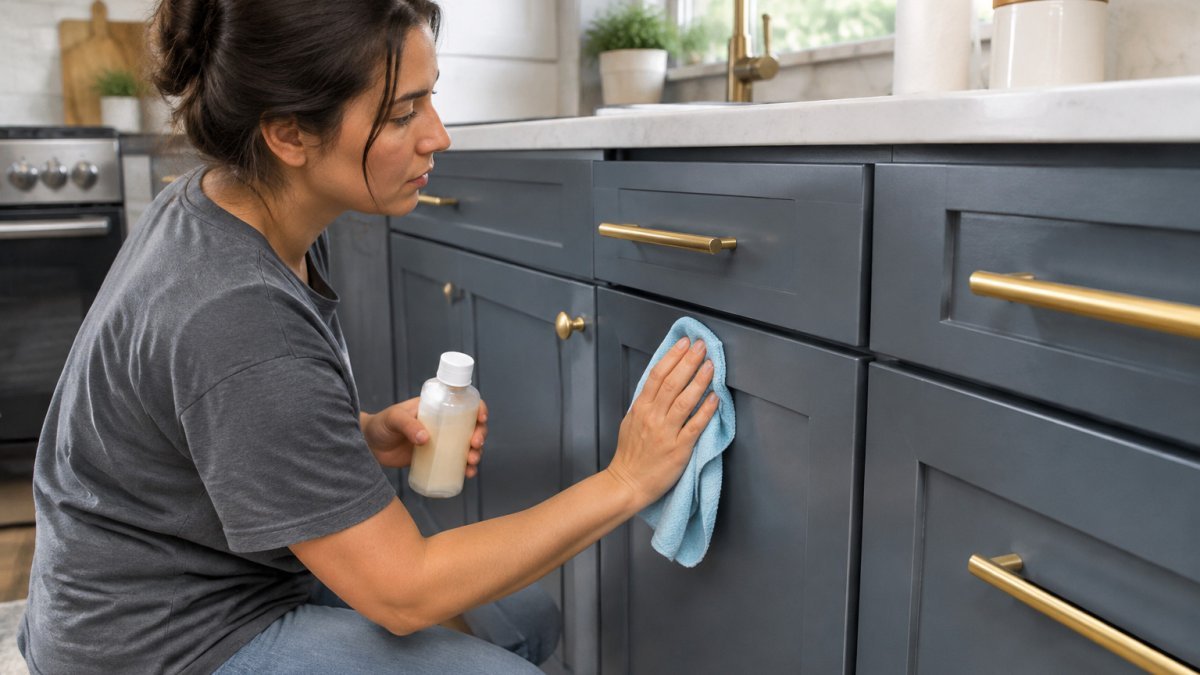
Start by removing doors, drawers and hardware, and label each piece so it returns to the right spot. Clean every surface with a degreaser, since kitchen grease blocks paint adhesion.
Preparation and Sanding Without Stripping
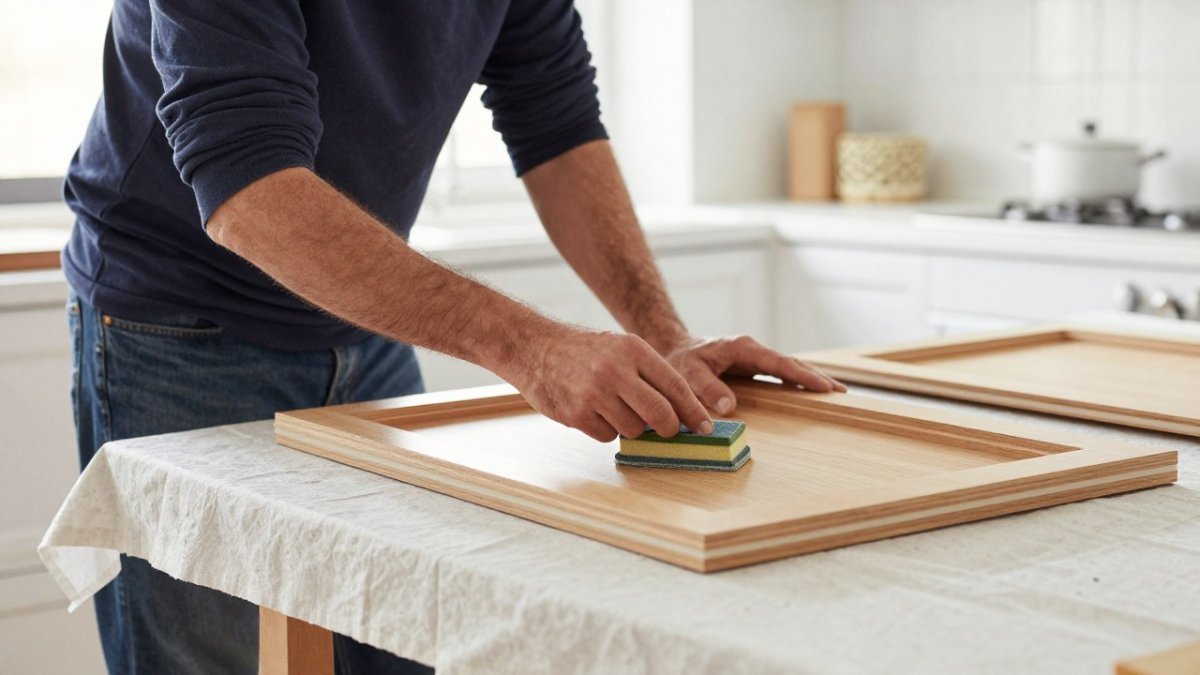
Sand lightly and evenly, following the grain. For a step-by-step approach that avoids heavy sanding, see restore dull cabinets without sanding. Remove all dust with a tack cloth before priming.
!A homeowner in a bright New York kitchen sanding the frame of a wooden cabinet door on a work table covered with a drop cloth
Priming, Finishing, and Curing
Curing matters as much as application. Most finishes feel dry within hours but need several days to a few weeks to reach full hardness. Avoid heavy use of the cabinets during that period.
Kitchen Cabinet Refinishing Cost and Timeline
Cost is the first question almost every homeowner asks, and the honest answer is a range rather than a single number. Pricing depends on the size of your kitchen, the condition of your cabinets, and the finish you choose. For current prices or a quote, contact Johnny Stone Work directly.
Ask any contractor how many days the cabinets must sit untouched before normal use, and confirm the timeline in writing before work begins.
Ask for a line-item breakdown that names the degreaser, primer, and topcoat being used so you can compare bids on equal terms. To compare budgets with related pricing, see marble polishing cost and prices.
Kitchen Cabinet Refinishing Before and After: What to Expect
A well-executed refinish changes the feel of a kitchen without changing its layout. Dated oak or yellowed white finishes take on a clean, uniform appearance, and new hardware can finish the transformation.
Expect some dust during sanding, a noticeable smell from finishes while they cure, and a few days of limited cabinet use. Results depend heavily on preparation, so rushed prep usually shows in the final finish.
Booking Your Cabinet Refinishing Project With Johnny Stone Work
If you want a professional result without the weekends of sanding, Johnny Stone Work can provide a free estimate for your cabinets. Visit the kitchen cabinet restoration service page to request your estimate.
Call a marble contractor today for a free estimate and get your kitchen looking its best. Astoria readers can check the Astoria marble polishing and restoration page. Brooklyn homeowners can review the Brooklyn marble and cabinet refinishing services.
BUTTON: Get a Free Cabinet Estimate
CARD_TITLE: Ready to refinish your kitchen cabinets?
CARD_TEXT: Johnny Stone Work restores kitchen cabinets and stone surfaces across the New York area.
Frequently Asked Questions
How do you refinish kitchen cabinets step by step?
Remove doors, hardware, and drawers and label everything so they return to the right place.
What products do you need to refinish kitchen cabinets?
Most projects need a degreaser, sandpaper, a bonding primer, a durable cabinet finish, painter’s tape, and drop cloths.
How much does kitchen cabinet refinishing cost?
Pricing depends on the number of doors and drawer fronts, the cabinet condition, the finish you choose, and whether the work is done by you or a professional. Johnny Stone Work does not publish set prices for this service, so the most accurate figure comes from a free estimate. Ask for a written quote that itemizes preparation, materials, and hardware so you can compare it with other bids on the same scope.
Is it better to paint, refinish, or reface kitchen cabinets?
Refinishing keeps the existing cabinet boxes and doors and applies a new finish, which suits solid wood or well-built frames in good structural condition. Refacing replaces the doors and drawer fronts and veneers the boxes, which helps when the box construction is sound but the layout is fine. Replacement makes sense when the boxes are damaged, warped, or no longer fit the room.