Last Updated: November 2, 2026
Quick Summary
To fix deep granite scratches, fill the gouge with color-matched epoxy in thin passes, let it cure fully, then sand flush in grit steps and blend the edges. Finish by buffing with granite polishing powder to restore the sheen. If a gouge is wider than a pencil eraser or sits near a seam, treat it as a professional repair.
- Run a fingernail across the mark: if it catches, it is a true scratch needing repair.
- Clean with warm water and mild dish soap, then dry fully before any repair.
- Match the filler color before you mix, and apply epoxy in thin passes.
- Wet-sanding keeps dust down and the surface cool during the repair.
- Never dry-sand black stone; keep the paper wet and wear an N95 respirator.
Table of Contents
- Is It a Scratch, a Stain, or Metal Transfer?
- Clean the Area Before Any Granite Scratch Repair
- Light Surface Scratches: What a Granite Scratch Repair Kit Can Do
- Deep Scratches and Gouges: Filling, Sanding, and Smoothing
- Restoring the Finish with Granite Polishing Powder
- How to Remove Scratches from Black Granite Without Clouding It
- What to Do Next
- Frequently Asked Questions
Is It a Scratch, a Stain, or Metal Transfer?
Before you touch a granite countertop with any abrasive, you need to know what you’re actually looking at. Many granite marks that seem like deep damage are actually surface deposits. A ring from a wet glass, a dark line from a dragged pot, or a metallic gray smear from a belt buckle often sits on top of the stone, not inside it.
Here’s a quick test. Run a fingernail across the mark at a right angle. If your nail catches, it’s a real scratch. If it glides over, the mark is likely a stain or metal transfer. Metal transfer happens when something harder than the stone’s surface rubs against it and leaves material behind. That residue comes off with a mild abrasive, not a repair kit.
This distinction matters because the wrong fix makes things worse. Scrubbing a metal mark with a coarse pad can introduce a genuine scratch where none existed.
- Catches your nail: true scratch, repair needed
- Feels smooth: stain or metal transfer, clean first
- White or light gray haze: often hard water or cleaner residue
- Dark line that won’t wipe off: possible metal transfer
For a deeper look at daily stone care, see our guide on how to clean and take care of stone and marble.
Clean the Area Before Any Granite Scratch Repair
Never sand or polish a dirty surface. Grit and grease grind into the stone and turn a small scratch into a wide, dull patch. Start with warm water and a few drops of mild dish soap. Wipe with a soft cloth, then rinse and dry completely.
Look at the stone under bright light from a low angle. This reveals scratch depth and direction better than overhead light. Mark the scratch ends with a strip of painter’s tape so you don’t overwork the area.
A common mistake is using an all-purpose cleaner with acids or ammonia. These can etch some stones and leave a cloudy film. Stick with soapy water for cleaning, and save the abrasives for the actual repair step.
Light Surface Scratches: What a Granite Scratch Repair Kit Can Do
A granite scratch repair kit handles surface scratches, the shallow ones that dull the shine without catching a fingernail.
Work in small circles along the scratch direction. Apply light pressure and keep the area damp. Check your progress every few passes, because it’s easy to oversand and create a dip in the surface.
What most guides miss: a kit won’t fix a gouge, and using it on deep damage wastes time and can widen the mark. Match the tool to the depth.
- Surface scratch: fine-grit paper or polishing paste
- Dull spot: polishing powder on a damp pad
- Gouge or chip: filler, not sandpaper
- Recurring scratches: look at what’s causing them first
Deep Scratches and Gouges: Filling, Sanding, and Smoothing
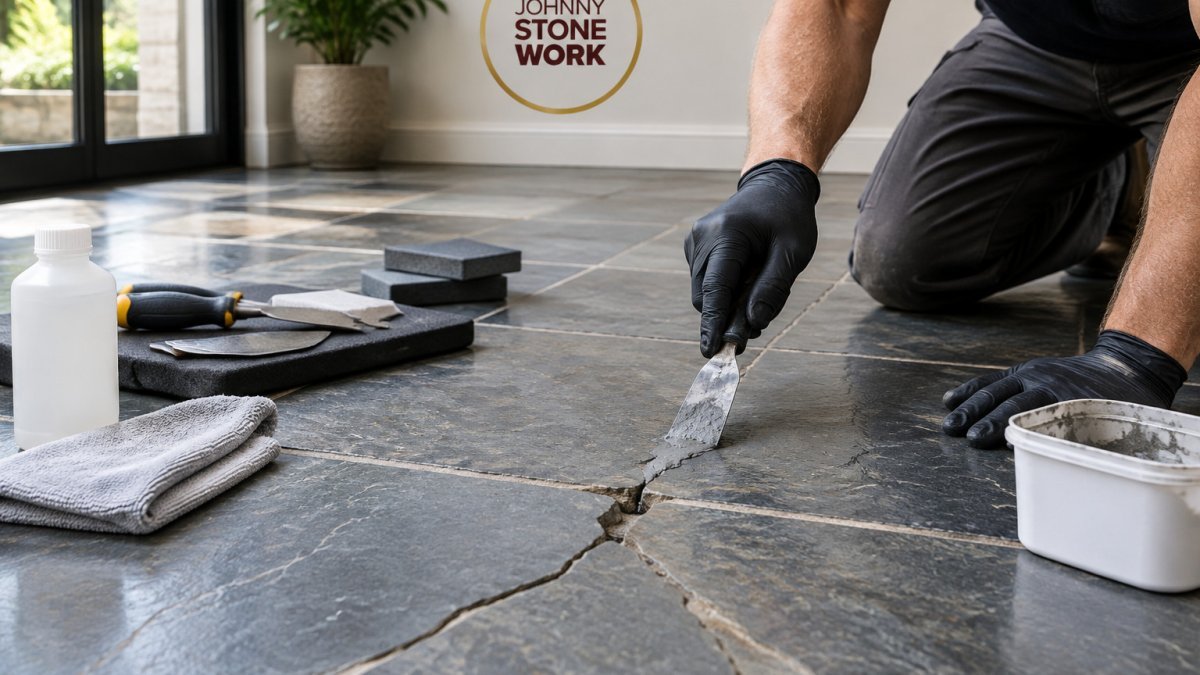
Deep damage needs a different approach than a surface kit. You fill the void, then blend it back into the surrounding stone.
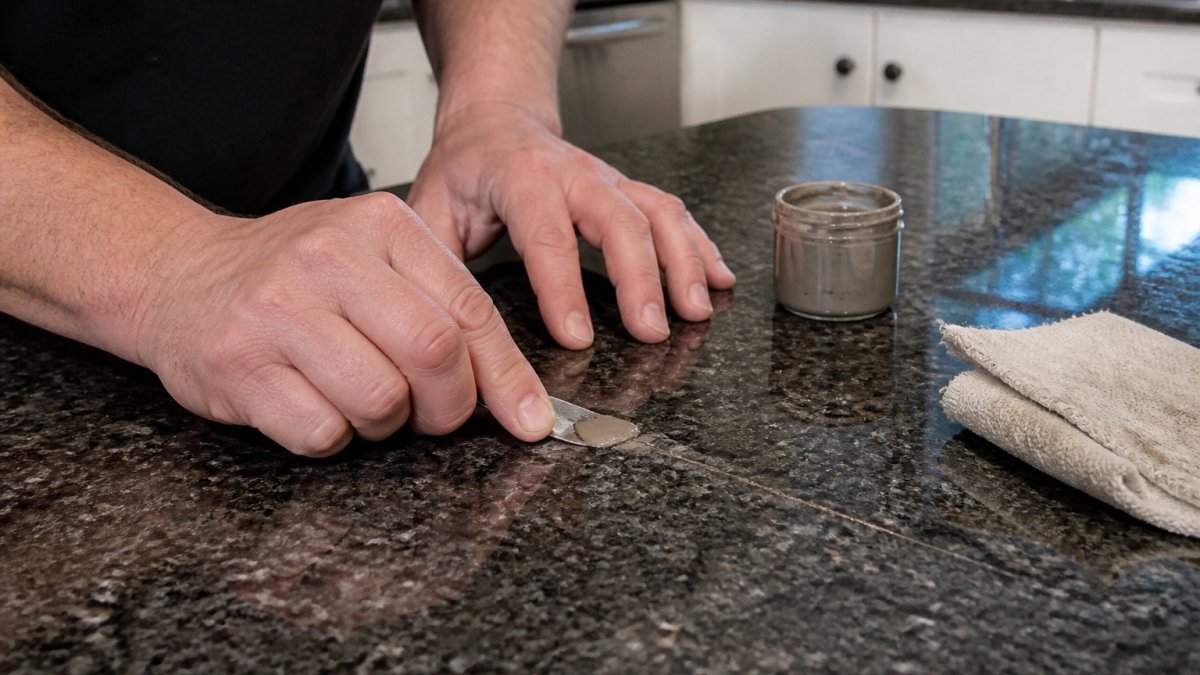
1. Confirm depth and stop point. Run a fingernail across the scratch. If the nail drops into a groove you can feel, it is a gouge, not a surface scratch.
2. Clean and dry completely. Warm water with a few drops of mild dish soap, a soft cloth, then a full dry.
3. Match the filler color before you mix.
4. Apply in thin passes. Use a plastic putty knife, press the epoxy into the gouge from the edges inward, and overfill slightly.
5. Let it cure fully. Follow the product’s cure time, and add margin in cool kitchens.
6. Sand flush in grit steps.
7. Blend the edges. Feather the last passes outward so the fill meets the original surface without a ridge. Check under raking light from a low angle, not overhead light.
8. Control dust and heat. Wet-sanding keeps dust down and the surface cool. Keep the paper wet rather than adding pressure.
Call a marble contractor today for a free estimate! →
Watch out: over-sanding around a filled gouge thins the surrounding finish and creates a halo that shows under light. Go slow, check often, and stop as soon as the fill is flush.
If the damage is wide, the stone is a prized slab, or the scratch crosses a seam, this is the point to stop. If the damage is beyond a safe DIY fix, you can request a free estimate from Johnny Stone Work before you commit to anything.
Here is the step-by-step process the article lays out for filling and blending a deep gouge.
| Step | What to do | Key detail |
|---|---|---|
| 1 | Confirm depth and stop point | Gouge wider than a pencil eraser means professional repair |
| 2 | Clean and dry completely | Grit left in the void shows as a dark speck |
| 3 | Match the filler color | Match before you mix |
| 4 | Apply in thin passes | Overfill slightly; a thick pour traps air bubbles |
| 5 | Let it cure fully | Sanding soft epoxy smears it and creates haze |
| 6 | Sand flush in grit steps | Sand until the fill is flush |
| 7 | Blend the edges | Check under raking light from a low angle |
| 8 | Control dust and heat | Wet-sanding keeps dust down and surface cool |
Restoring the Finish with Granite Polishing Powder
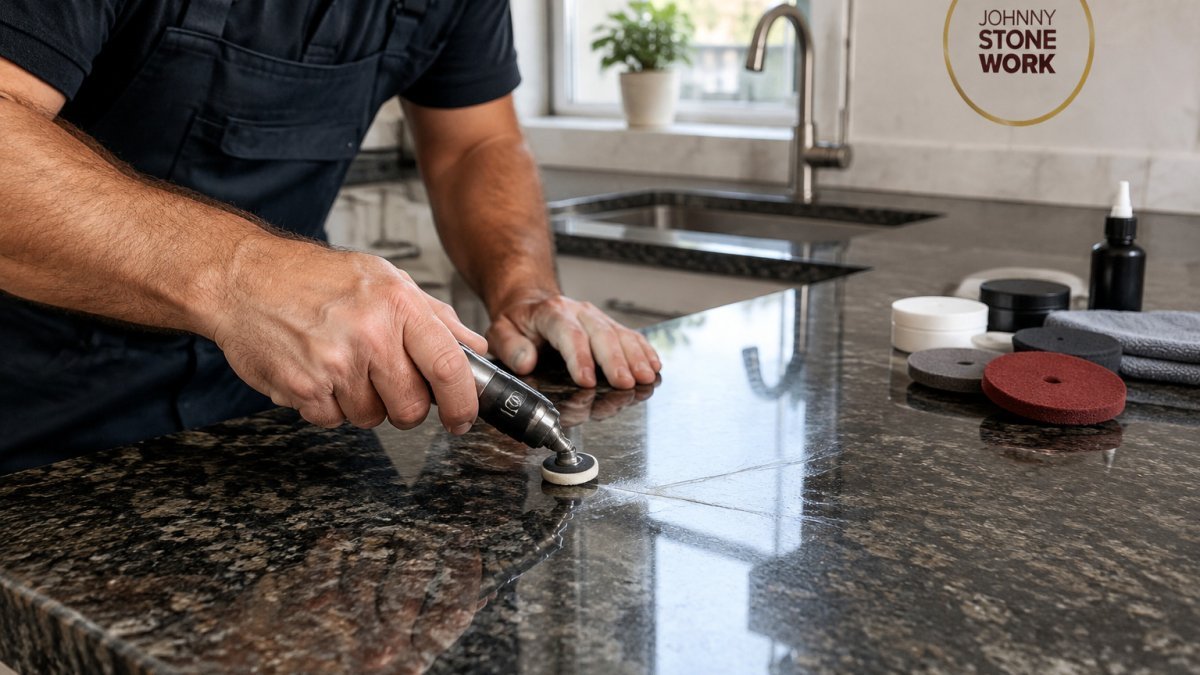
Sanding and filling leave the repaired spot duller than the rest of the counter, so granite scratches need a final polish. Granite polishing powder brings the sheen back. It’s a fine abrasive that, worked with water on a felt pad, smooths the surface to match the surrounding finish.
Mix the powder with water into a thin paste. Apply to the repaired area and buff in small circles with light pressure. Add water as you go to keep it slick. Wipe clean and check the sheen against the rest of the stone.
The tricky part is matching the original finish. A polished counter and a honed counter need different levels of work, and it’s easy to leave a glossy patch on a matte surface. If you don’t want to risk it, Johnny Stone Work offers professional stone restoration for granite, marble, and slate.
How to Remove Scratches from Black Granite Without Clouding It
Black granite shows every flaw, and it clouds easily. The dark surface magnifies hazy patches left by coarse abrasives or too much pressure.
Start by identifying the finish. A polished black counter reflects a sharp image; a honed one reflects a soft, diffused glow.
Work the finest grit that removes the mark. Begin with 800-grit wet/dry paper on a backing block, keep it wet, and check after every few passes under raking light.
Match the sheen, not just the scratch. After sanding, buff with granite polishing powder mixed to a thin paste on a felt pad.
Blend the repair zone. Feather the polishing passes outward past the scratch so there is no hard edge between worked and untouched stone.
Seal after the repair. A penetrating sealer keeps spills and grit from working into the repaired area and helps the repair last. Apply per the product instructions and buff off the excess before it dries.
Watch out: never dry-sand black stone. Heat and dust leave a film that is hard to remove, and dry dust is a respiratory irritant.
After the repair, seal the surface. You can also explore expert marble sealing services in NY to protect your stone from future damage.
What to Do Next
Fixing a deep scratch in granite comes down to diagnosis, patience, and knowing your limits. Light marks respond to a kit and a soft hand. Deep gouges need careful filling, sanding, and polishing, and black stone punishes any slip.
When a scratch is wide, the stone is valuable, or you want a flawless finish, professional help is the safer bet. Johnny Stone Work restores granite, marble, and slate for homes and businesses, with free estimates and sealing services. We have 163 happy customers.
Get started with Johnny Stone Work and bring your stone back to a clean, even shine.
Frequently Asked Questions
Can scratches on granite be removed?
Most can. Light surface scratches often come out with a fine abrasive and polishing powder, while deeper gouges need color-matched epoxy filler followed by sanding and polishing. The deciding factors are scratch depth, the stone’s finish, and whether the mark is a true scratch or metal transfer from a pot or appliance. A scratch you can feel with a fingernail is usually deep enough to need filling rather than polishing alone.
Can a granite scratch repair kit fix a deep scratch?
A granite scratch repair kit handles light scratches and dull spots well, but most off-the-shelf kits are not built for deep gouges. For a deep scratch, you need color-matched epoxy filler, a sequence of fine-grit diamond pads, and polishing powder to bring back the sheen. If the scratch catches a fingernail or you can see the raw stone underneath, treat it as a fill-and-polish job rather than a wipe-on fix.
Does WD-40 really remove scratches from granite?
No. WD-40 can make a light scuff look better for a few minutes by darkening the surface, but it does not remove stone or restore a finish, and it leaves an oily film that attracts dust. Skip home remedies like vinegar, which is acidic and can etch calcium-based stone over time. Stick to mild dish soap and warm water for cleaning, and use abrasives or filler only where the damage calls for them.
When should I call a professional for granite scratch repair near me?
Call a pro when the scratch is deep enough to catch a fingernail, when the damage covers a large area, or when the countertop has a polished or honed finish you want matched exactly. Black and dark granite is especially unforgiving of DIY sanding because swirl marks show under light. A restoration specialist can color-match filler, polish to the original sheen, and reseal the surface so the repair blends in.