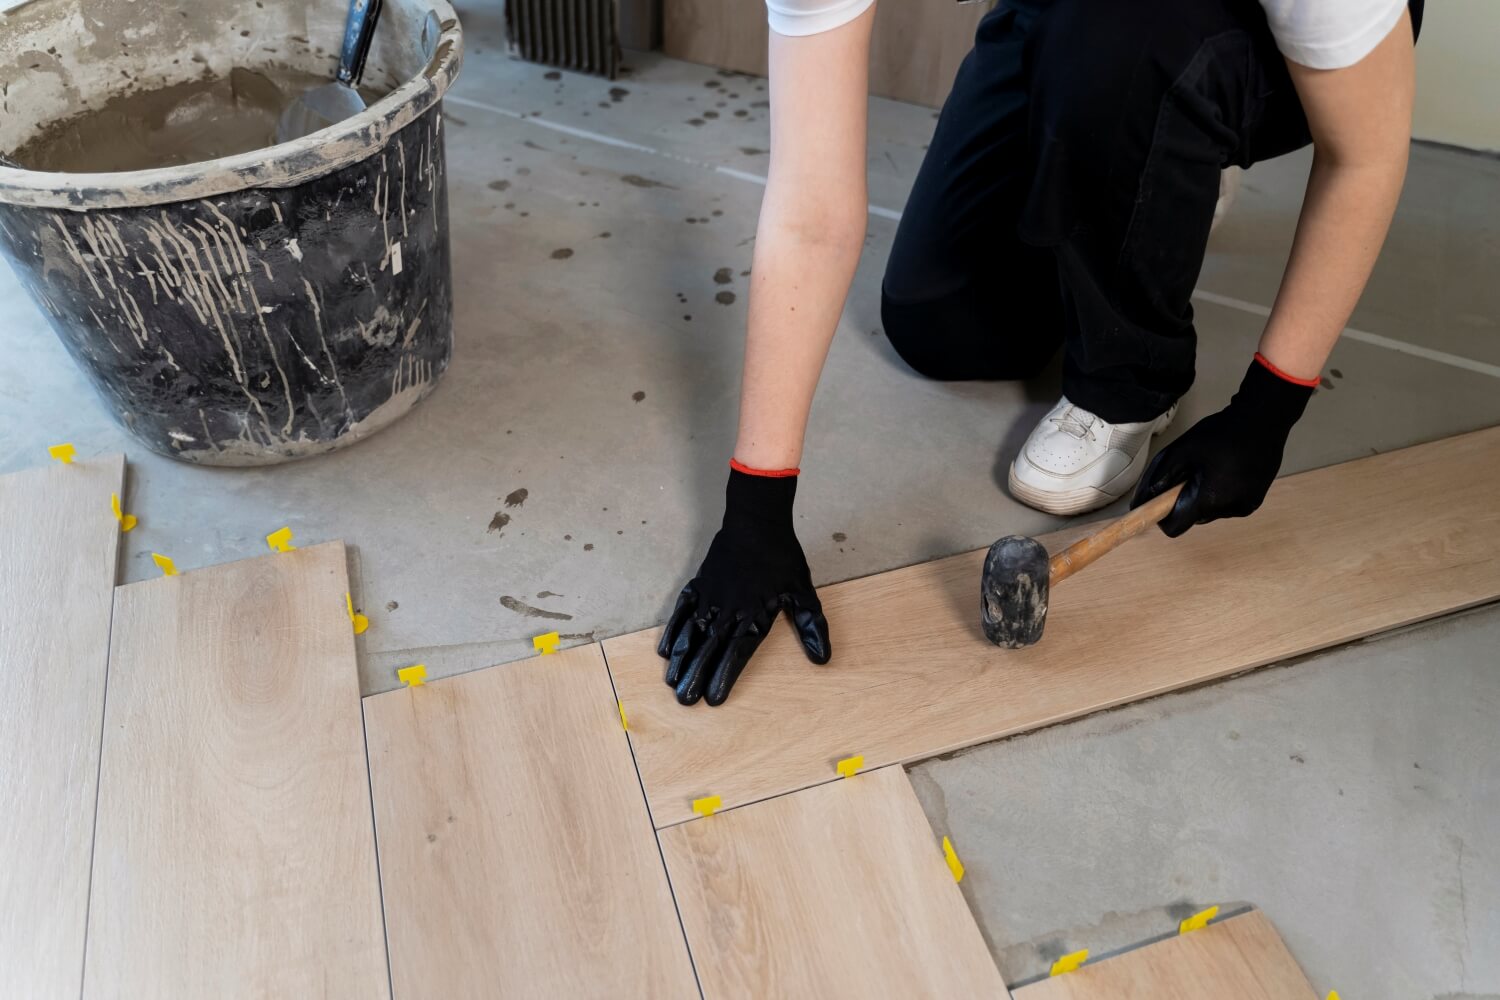
Interested in grout repair NY? Our easy steps can help you achieve the best results. In fact, tile grout cracks and becomes loose over time. So whenever you notice that your tile grout has seen better days, you should opt for tile and grout repair NY. Re-grouting tile isn’t a complicated job so if you love do-it-yourself project then you can handle it without any hassle. Whether it’s your kitchen or bathroom, tile grout repair NY will be one easily and you will enjoy a fresh, new look. This is a budget-friendly solution so if you want to fix cracks quickly and update the look of your space, grout repair will never be in vain.
Note that damaged grout will not only make your tile look old and worn, but it can also be a source of bacteria and mold growth. So prepare your tools and start tile grout repair as early as possible.
Grout Repair Steps
STEP 1: Clean the cracked grout
First of all, thoroughly clean every area you want to fix. You can use vinegar, water, and a toothbrush to get rid of tiny crumbs.
STEP 2: Remove the damaged grout
Now it’s time to dig out all those loose and damaged pieces of grout. You should be careful enough not to chip the tile. Devote much tome to removing any debris from between the tile.
STEP 3: Clean away the dust and dirt
It’s worth mentioning that dried grout creates dust, a lot of it. Use a wet sponge and clean away any dust off your tiles and in the cracks. Rinse the sponge thoroughly and moisten it with clean water.
STEP 4: Make the grout
There are various types of grout: one that you should mix on your own, and one that is pre-made. You also need to match the color of your grout. You can get sample chips and find the closest color match. If you find out that the original grout color is lighter than the color you have bought, you can lighten the new grout by adding more water. However, if the original grout color is darker, use less water.


STEP 5: Apply the grout
Spread the grout so it fills all the joints completely. After 15 to 30 minutes, clear away excess grout with a damp grout sponge. Smooth the surface with the float by removing the whole excess grout.
STEP 6: Clean up the area
To wipe away any grout from the tile just use a damp sponge. This way you won’t leave extra grout drying on your tile.
STEP 7: Seal the grout
Once the grout has dried completely, run a wet sponge over the tile again to make sure there is no residue left. Then apply a sealant and rest assured that it will help keep the grout from cracking.
See how quick and easy the process is? However, if you are not ready to handle the process alone, you can get help from our professional team. Johnnystonework provides the highest quality tile grout repair service NY and guarantees your satisfaction. For us re-grouting tile isn’t complicated, so whether you need kitchen or bathroom shower grout repair NY, we are up to the task. Contact us today and let’ discuss more detail!